Your Basement Is Basically a Buried Treasure Chest — Here's How to Open It
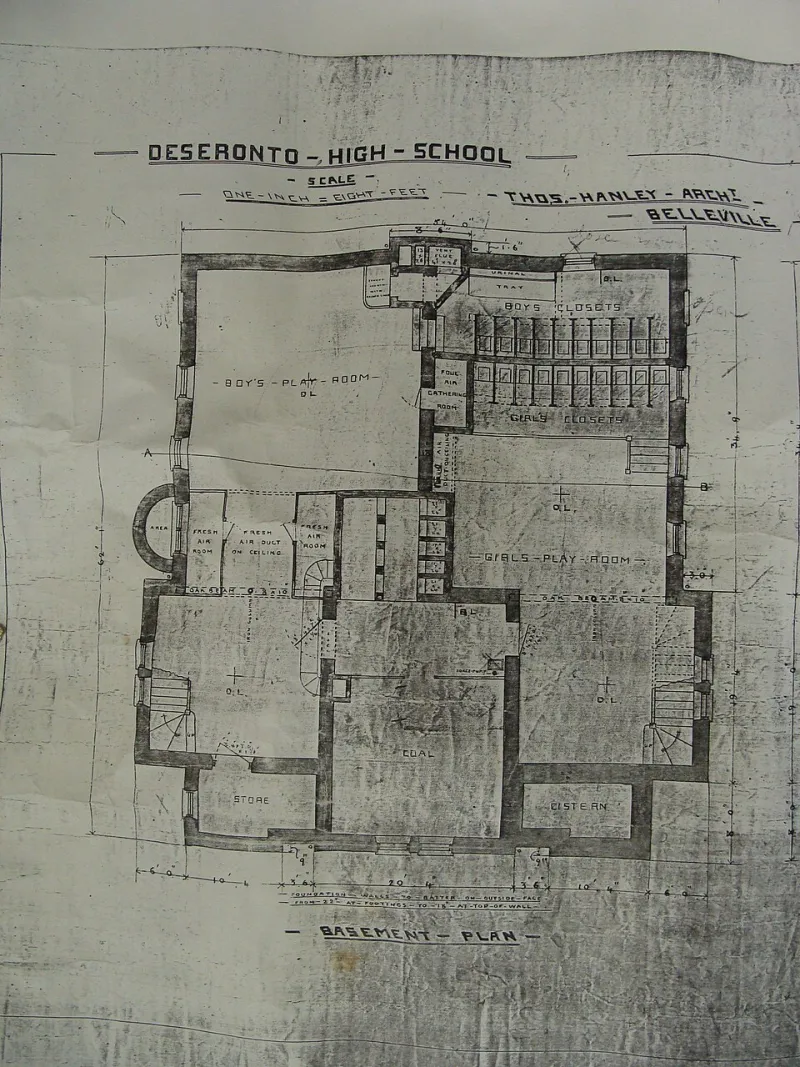
Photo: Deseronto Archives, No restrictions, via Wikimedia Commons
Let's be honest: when was the last time you actually spent time in your basement? Not to grab a holiday decoration or reset a tripped breaker — but really spent time down there, looking around with fresh eyes?
For most homeowners, the basement is where good intentions go to hibernate. That half-finished drywall project from 2019. The treadmill that became a very expensive clothing rack. Boxes from the last move that never got unpacked. Sound familiar?
Here's the thing — your basement isn't just wasted space. It's wasted potential. Depending on your home's square footage and location, an underutilized basement could represent anywhere from a few thousand dollars in missed storage value to well over $50,000 in untapped equity if properly finished. The good news? You don't need a complete overhaul to start reclaiming it. You just need a plan.
This is your basement audit — a room-by-room, wall-by-wall approach to figuring out what you actually have, what's holding you back, and what practical steps will turn that dark, forgotten space into a genuine home asset.
Step One: Start With Moisture — Because Nothing Else Matters If You Skip This
Before you start dreaming about a home gym or a guest suite, you need to deal with the most common basement dealbreaker: moisture.
Water intrusion is the silent enemy of every basement improvement project. It can show up as visible leaks, musty odors, white chalky deposits on your walls (called efflorescence), peeling paint, or just a general damp feeling in the air. Any of these signs means water is either getting in or getting trapped.
Here's a quick DIY moisture test: tape a 12-inch square of plastic sheeting to your basement wall and floor in a few different spots. Leave it for 24–48 hours. If moisture collects behind the plastic (between the plastic and the wall), you've got water seeping in from outside. If it collects on top of the plastic, you're dealing with condensation from interior humidity.
The fix depends on the source. Simple condensation is often solved with a dehumidifier and better ventilation. Actual water intrusion may require grading corrections outside, gutter extensions, or interior waterproofing systems. If you're seeing cracks in your foundation walls or floor, get a professional assessment before doing anything else. This isn't the place to guess.
Step Two: Know Your Zones Before You Make a Move
Once you've cleared the moisture hurdle, it's time to think about zoning. Most basements aren't one open room — they have mechanical areas (your HVAC, water heater, electrical panel), utility zones, and open square footage. Mapping these out on paper before you start rearranging anything will save you a massive headache later.
Ask yourself:
- What has to stay where it is? (Mechanical equipment, load-bearing columns, egress windows)
- What's currently taking up space that could move or go away entirely?
- What would actually make your daily life better if it lived down here?
Common basement zones that add real, practical value include:
Dedicated storage systems — Not just shelves, but organized, labeled, accessible storage. A well-designed storage wall with shelving, bins, and pegboards can free up space in your garage, closets, and bedrooms simultaneously.
A home office or study nook — Basements are naturally quiet and separated from the main living areas, which makes them surprisingly great for focused work. You don't need a full build-out — a well-placed desk, good lighting, and a reliable outlet setup can do the trick.
A utility or hobby space — Whether it's woodworking, crafting, or DIY repairs, having a dedicated workspace keeps the mess contained and the tools organized.
A secondary living area — With the right flooring, lighting, and egress, a basement can become a legit bonus room for movies, gaming, or entertaining.
Step Three: Lighting Is the Cheapest Transformation You're Not Making
Nothing makes a basement feel more like a dungeon than bad lighting. And yet, most homeowners leave the original single-bulb fixtures in place for years.
Swapping out old fixtures for recessed LED lighting is one of the most cost-effective improvements you can make. LEDs run cool, use a fraction of the energy, and — critically — they cast even, bright light that makes a low-ceiling basement feel open instead of oppressive.
If you're not ready to rewire anything, plug-in LED shop lights mounted to exposed joists are a surprisingly effective and affordable workaround. Add a few floor lamps in corners and you'll be amazed at the difference.
Natural light is the real prize, though. If your basement has small windows, consider enlarging them or adding window wells. Egress windows (required for any legal sleeping space) do double duty — they bring in light and meet building code for livable rooms.
Step Four: The Practical Conversion Playbook
You don't have to go from storage purgatory to fully finished basement in one weekend. The most effective basement improvements happen in phases. Here's a rough priority order that makes sense for most homes:
- Clear and categorize — Donate, sell, or trash what you don't need. This alone is often eye-opening.
- Fix moisture issues — Non-negotiable.
- Install proper lighting — Immediate payoff, low cost.
- Add organized storage — Maximizes usable space without major construction.
- Flooring upgrade — Interlocking foam or vinyl plank tiles go over concrete without adhesive and make a huge comfort difference.
- Frame and insulate walls — If you're ready to commit to a finished space, this is the next big step.
- Add a bathroom rough-in — If you're thinking long-term resale value, a basement bathroom dramatically increases the appeal of the space.
Each of these steps builds on the last, and you can stop at any point and still have a more functional basement than when you started.
The Bottom Line
Your basement isn't a lost cause — it's an opportunity you keep putting off. Whether you're looking to add livable square footage, create a dedicated workspace, or simply stop losing things in a pile of mystery boxes, a structured audit is the smartest first step.
You don't need a contractor's budget or a three-month timeline. You need a Saturday afternoon, a notepad, and a willingness to actually look at what's down there. Start with the moisture check, map your zones, fix the lighting, and go from there.
The square footage is already yours. It's time to actually use it.